How do I enable international shipping in Shopify?
With FlavorCloud, you can:
- get shipping rates and duty fees calculated and displayed in your checkout
- print labels,
- track shipments, and
- create returns.
Note: If you are a ShipBob Customer trying to integrate with FlavorCloud, refer to the ShipBob documentation for FlavorCloud Self-Onboarding.
To ship your first international package, you must complete the following:
1. Install the FlavorCloud Application
Basic Requirements
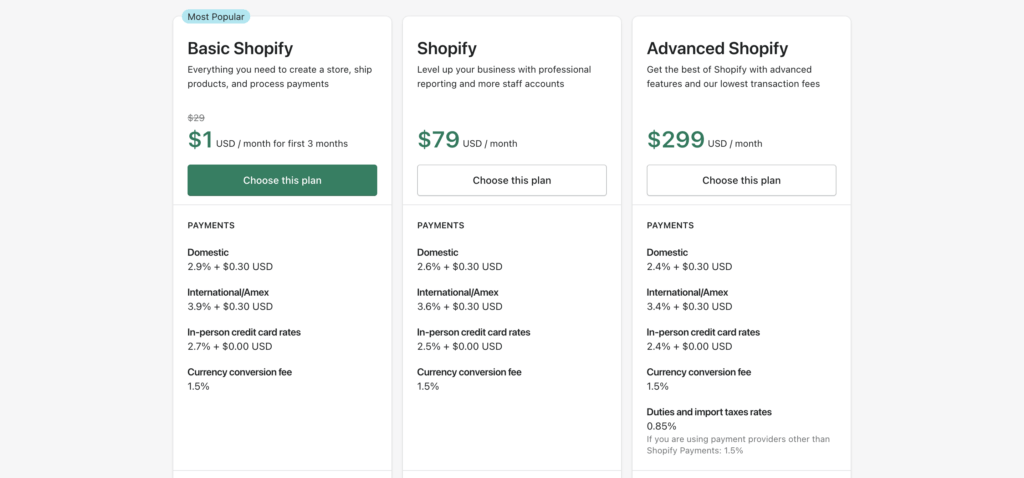
If you haven’t already, upgrade your account to Shopify Advanced or Shopify Plus.
To use FlavorCloud, you must activate the “3rd Party Calculated Rates” feature in Shopify, which is part of Shopify Advanced and Shopify Plus.
Installing the FlavorCloud application
- Log in to your Shopify store.
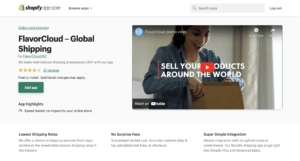
- Select “Apps” on the left panel of the main menu of your Shopify online store.

- Click the “Visit the Shopify App Store” button on the right.
- Type “FlavorCloud” in the search bar.

- Click on “Add App”, and on the next screen “Install App.”
2. Create a FlavorCloud Account
If you already have a FlavorCloud account, you will be taken to the login screen.
To use the FlavorCloud application, you must create a FlavorCloud account.
The setup wizard will take you through the steps to create your FlavorCloud Account.

You will receive an email confirmation that the account has been created.
Follow the link in the email and verify your email address.
3. Review and Update your Settings in the FlavorCloud Application
Account Settings

- Information
- Review your Account Information
- Enter your Tax ID
- Payments
- Review/Add a method of payment
- Set up payment method and invoicing
- Shipping
- Choose Auto or Manual Fulfillment
- Select the shipping service levels you want to offer: Standard and/or Express
- Select the terms of trade you want to offer:
- DDU (Duties paid when the package arrives at destination customs)
- DDP (Duties paid at checkout)
- Review the default package dimensions and weight for your average package size (without any contents)
- Select FlavorCloud print settings
- Select insurance options for express orders
- Review the default country of origin
- Add any SKUs you want the FlavorCloud API to ignore
- Locations
- Review your shipping origin address (if different from the account address) in Shipping Settings
- Review the ship-from location (typically your warehouse) or import the ship-from address from your Shopify store
- Checkout Settings
- Review and Customize the shipping method layout (how the shipping options will display at checkout) if desired.
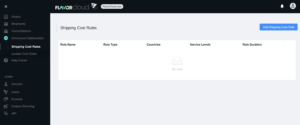
Conversion Optimization Settings
- Set up any Shipping/Landed Cost rules (discounts and markups)
Branded Tracking Settings
- Review the Branded Tracking page templates your customers will see, and make any desired changes in the pop-up window. There are two templates to choose from; a two-column design and a three-column design.
- You can update the colors and fonts but it is not required.
- At the top of the screen you can change the logo by clicking on the existing FlavorCloud logo, and uploading your own.
- Maximum logo dimensions are 500 x 241 pixels
- While it is possible to add images that are larger, it will break the layout, especially on mobile devices.
- Next you will see the “Ad Section Image”
- 3-column maximum ad image dimensions are 367×654 pixels
- 2-column maximum ad image dimensions are 702×540 pixels
- While it is possible to add images that are larger, it will break the layout, especially on mobile devices.
Note: FlavorCloud recommends 3-column lay-out because it renders better on mobile devices.
Note: You must change BOTH the logo and the hero image at the same time.

4. Update your Shopify Shipping Settings
Once you have successfully installed the application and created a FlavorCloud account (or logged into an existing FlavorCloud account), you can update your Shopify online store settings:
- Select “Settings” on the left panel of your Shopify online store.
- Click on the “Shipping” folder.
- In the Shipping folder, go to the “Shipping Profile” area.
- Click on “Manage Rates.”
- Scroll down to the “Shipping To” section, where you create a new international shipping zone that includes all countries you would like to sell to.
You can change the list of international countries at any time, including adding or removing countries/from the list.


- Click on the “Add Rate” to your international shipping zone, and select FlavorCloud from the drop-down menu.
FlavorCloud must be the only rate option for international; if other options are listed, remove them.
If FlavorCloud is listed in the “Domestic” shipping zone area, you will need to remove it. FlavorCloud is only for international shipping.
You will need a version of Shopify that includes the “3rd Party Calculated Rates” functionality to add FlavorCloud as the rate provider for your international orders.
5. Update your Shopify Products for International Shipping
Finally, make sure that all products you are selling through your Shopify store include:
- the weight,
- the HS code and
- the country of origin/manufacture.
This information is required to calculate international shipping rates and duties/taxes. Note: If a product missing any of these 3 key pieces of information is added to an international cart, taxes and duties will not be calculated for the entire cart.